-
Most Popular
Learning to make sprites
I was looking through the contents of the cassette that came with the ... Read More!Amstrad 3.5" Floppy drive - DSK to Disc
So you've got the floppy drive all powered and plugged in, but got no Amstrad CPC software on 3.5" d... Read More!Connecting a 3.5" floppy drive to an Amstrad 464 without modifying the drive or DDI-1
Quite some time ago I bought a DDI-1 interface to use with my amstrad 464's. Just the interface with... Read More!Yet more Amstrads added to the collection - ALT-386sx and PCW8256
If you haven't guessed already, I like my Amstrad computers. Purely because of nostalgia and curiosi... Read More!Schneider (Amstrad) CPC 664 surprise
As a collector of Amstrad machines, the holy grail to me is the Amstrad CPC 664. Only manufactured f... Read More!
Amstrad 3.5" Floppy drive Powering the driveCreated on: 17-06-2019 By Gee |
|
After getting the ready signal sorted on the floppy drive, the next thing that was needed was to get the drive powered.
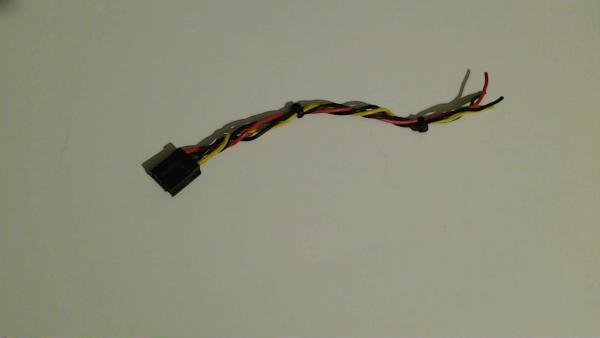
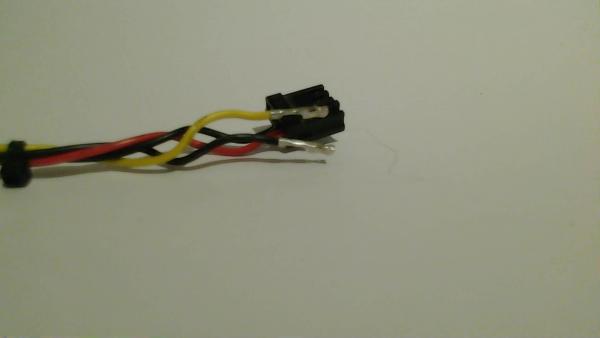
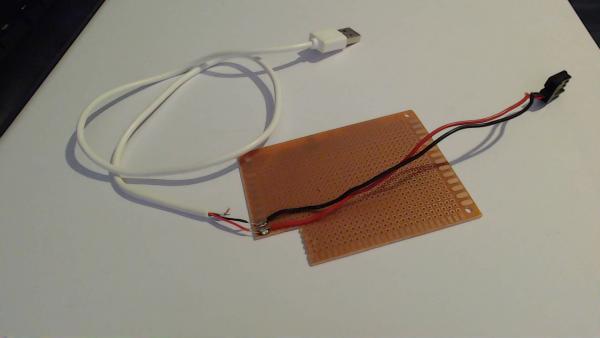
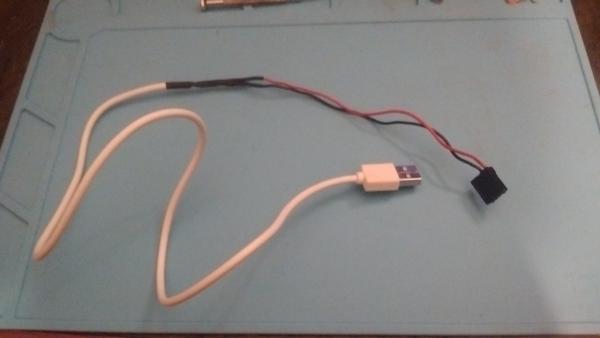
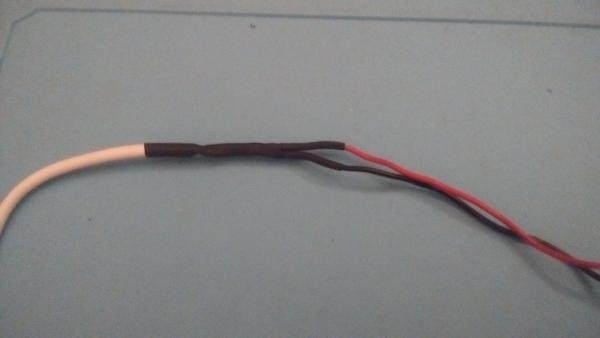
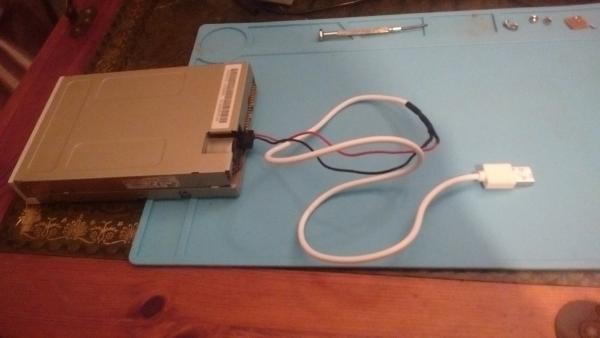
I done some research on what kind of amperage a floppy drive needs to run correctly and came up with the recurring answer of around 700ma from a 5v DC power supply. The great thing about this is that it means that I was able to use a USB cable to power the drive. Seeing as I have numerous USB cables in the house, I cut the end off of one and then set about finding a way to connect it to the drive itself. The floppy drives use a Berg Connector to connect them from an ATX power supply. I have an old ATX power supply in my loft, waiting to be used for spares. So I cut the berg connector off, then removed the 12v and one of the ground wires as these are not used on "modern" 3.5" floppy drives. Once I had the wires I needed, I soldered the ends together ensuring the red was connected to the red and black to black. You don't want to mix those up or you'll be sending power the wrong way through the drive and probably blow some components. Once I was happy with the soldering for test purposes (see image 3), I searched around for a USB charger that gave me the correct amperage to power the drive. Thankfully I found one that was 5v DC and 1amp. Using this, I plugged my new USB to Berg connector cable into the floppy drive and then into the USB charger. The light come on briefly and the motor powered up for the same time. A good sign that the drive is being powered correctly. The wire that I had created was a bit bare at the solder joints and was connected to a test board, so I decided to tidy them up. I got out my heat shrink and used that to great effect. I had never used it before and had to use a candle to make it shrink as I couldn't find anything else other than matches. I suppose I could have used my heat gun (not a soldering heat gun before you think it is), but it might have been a bit overkill. So the Drive has power! Next step, the ribbon cable. |
|
|